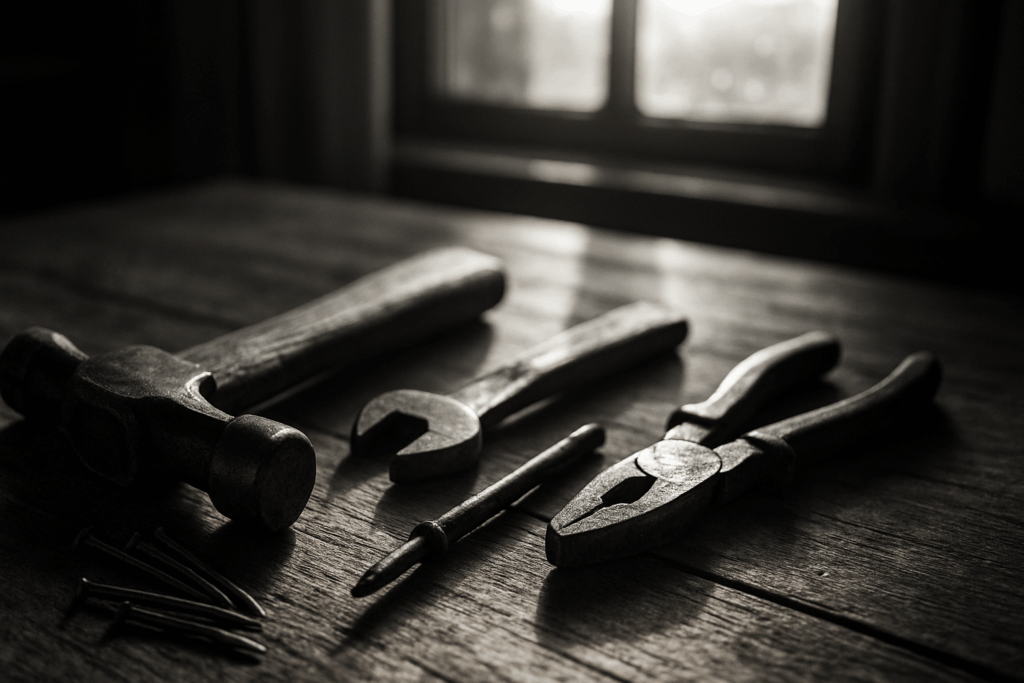
Why Go Power Free?
Not everyone has a garage full of gear or the desire to fill one. Building custom shelving without power tools makes sense if you’re renting, just getting started, or simply don’t want to deal with the noise and cleanup. No cords, no drills, no sawdust clogging up your living room.
This style of DIY keeps things simple. You cut down on safety risks, avoid annoying your neighbors, and still get practical, durable shelves when it’s all said and done. With the right materials and a bit of patience, no drill shelves can look clean, modern, and hold more than you’d think.
Going power free isn’t just about cutting corners it’s about leaning into a method that works harder than it looks. Clean build, lower stress, solid result. That’s a win in any space.
What You’ll Need Instead
You don’t need a toolbox full of power tools to build sturdy, stylish shelving. Here’s what to gather:
Pre cut wood Save yourself time and stress by having the wood cut where you buy it. Most hardware stores will do it for free or a small fee. Just measure ahead of time and bring your list.
Basic hand tools A dependable screwdriver, hammer, level, and measuring tape are all you need here. Nothing fancy, just accurate and functional.
Wood glue, brackets, and finishing nails These are your MVPs for holding everything together without a drill. Wood glue gives lasting grip, brackets add backbone, and nails lock it all into place.
Sanding block or hand sandpaper Smooth surfaces look better and help paint or stain stick. A quick hand sanding will do the trick.
Optional finishes Want a more polished look? Grab a small can of wood stain or paint and a brush. No spray tools needed. Stick to colors that match your room or go bold if you’re feeling it.
This gear keeps your build simple, quiet, and effective. It’s gear you can keep in a single drawer, not a storage shed.
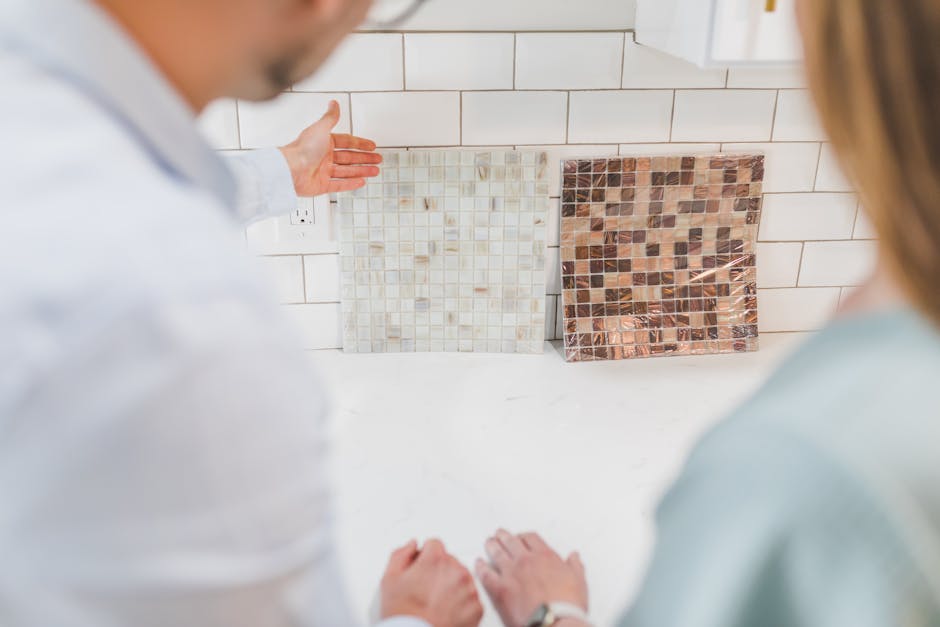
Planning Your Custom Shelf Setup

Before you even touch a plank, look at your wall. Not all walls are created equal. Avoid hollow drywall unless you’re using serious anchors. Grab a stud finder (even a cheap one will do) and map out what’s behind the surface. Studs = strong foundation. No studs = rethink your mount or shift to a leaning shelf.
Next choice: style. Wall mounted shelves are space savers and clean looking, but they need reliable support. If you’re hesitant about drilling or you’re not sure what’s inside the wall (looking at you, old rentals), leaning shelves might be the smarter play. They rest on the floor and angle gently against the wall stable, easy, and zero holes.
Talk measurements. Always, always measure twice. You’re aiming for balance (not too high, not too low), scale (shelf width shouldn’t overwhelm the wall), and practicality (can it actually hold what you want to put on it?). Test dimensions with painter’s tape on the wall and lay items out on the floor roughly where they’d sit. This five minute trick will save you hours later.
Finishing Touches
Once your shelf is standing firm, it’s time to clean it up and dial in the aesthetics. Start with a light sanding especially on edges or corners where splinters lurk. Use a sanding block or folded sandpaper and a little patience. The goal isn’t perfection it’s clean, smooth lines that won’t catch skin or clothing.
Next up: finish. Whether it’s a clear sealant, a smoky walnut stain, or bold matte paint, pick what fits your space. Apply slowly with a brush two light coats are better than one thick mess. Let everything dry completely (ideally overnight) to avoid sticky surprises or smudged gear.
Only after it’s fully dry should you start loading it up. Books, plants, framed art it’s your call. Just make sure that weight distribution is smart. The shelf can handle plenty, but it’s not invincible. Built right, though, it’ll serve you for years.
For more advanced options, including hidden brackets and sleeker styles, check out our complete floating shelf tutorial.
Tips for Going Further
Once you’ve got your basic shelves in place, there’s no rule that says you have to stop. Use crates or old stackable boxes to add extra function great for books, tools, or hiding clutter. Repurposed furniture shelves (think nightstands or salvaged cabinet pieces) also work well as quick add ons that bring character and save cost.
Hooks or pegs are your best friends if you need to mix storage and utility. Hang headphones, tools, kitchen utensils, or whatever you reach for regularly. Just screw them in where it makes sense, or use stick on versions if you’re renting.
Most importantly, don’t expect your first setup to be the final one. Keep tweaking your layout until it works for how you move and what you use daily. When your space and your shelves start feeling effortless, you’ll know you nailed it.
Looking for floating shelves? Try this floating shelf tutorial for a step by step guide that also skips the drill.
 Rovelle Vosswynne has opinions about gardening and landscaping tips. Informed ones, backed by real experience — but opinions nonetheless, and they doesn't try to disguise them as neutral observation. They thinks a lot of what gets written about Gardening and Landscaping Tips, DIY Project Tips, Home Renovation Ideas is either too cautious to be useful or too confident to be credible, and they's work tends to sit deliberately in the space between those two failure modes.
Reading Rovelle's pieces, you get the sense of someone who has thought about this stuff seriously and arrived at actual conclusions — not just collected a range of perspectives and declined to pick one. That can be uncomfortable when they lands on something you disagree with. It's also why the writing is worth engaging with. Rovelle isn't interested in telling people what they want to hear. They is interested in telling them what they actually thinks, with enough reasoning behind it that you can push back if you want to. That kind of intellectual honesty is rarer than it should be.
What Rovelle is best at is the moment when a familiar topic reveals something unexpected — when the conventional wisdom turns out to be slightly off, or when a small shift in framing changes everything. They finds those moments consistently, which is why they's work tends to generate real discussion rather than just passive agreement.
Rovelle Vosswynne has opinions about gardening and landscaping tips. Informed ones, backed by real experience — but opinions nonetheless, and they doesn't try to disguise them as neutral observation. They thinks a lot of what gets written about Gardening and Landscaping Tips, DIY Project Tips, Home Renovation Ideas is either too cautious to be useful or too confident to be credible, and they's work tends to sit deliberately in the space between those two failure modes.
Reading Rovelle's pieces, you get the sense of someone who has thought about this stuff seriously and arrived at actual conclusions — not just collected a range of perspectives and declined to pick one. That can be uncomfortable when they lands on something you disagree with. It's also why the writing is worth engaging with. Rovelle isn't interested in telling people what they want to hear. They is interested in telling them what they actually thinks, with enough reasoning behind it that you can push back if you want to. That kind of intellectual honesty is rarer than it should be.
What Rovelle is best at is the moment when a familiar topic reveals something unexpected — when the conventional wisdom turns out to be slightly off, or when a small shift in framing changes everything. They finds those moments consistently, which is why they's work tends to generate real discussion rather than just passive agreement.