I’ve cleaned up after more renovations than I care to count, and I can tell you this: that fine dust gets everywhere.
You just finished your renovation. The contractors are gone. You’re excited to finally enjoy your new space. Then you notice it. Dust on surfaces you didn’t even know existed.
Standard cleaning doesn’t touch it. You wipe down the counters and an hour later they look dirty again. It’s frustrating.
Here’s the thing: construction dust isn’t like regular household dirt. It’s finer, it travels farther, and it requires a different approach.
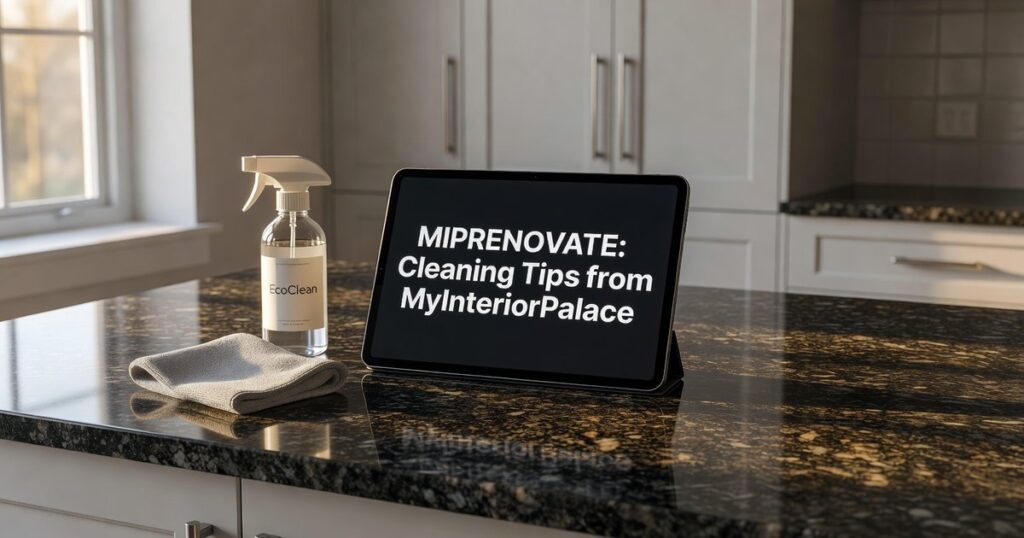
I’m going to walk you through the exact process professionals use to get a renovated home truly clean. This is the same system we use at miprenovate cleaning tips from myinteriorpalace to restore spaces after major projects.
This isn’t about cleaning the same spot five times. It’s about working smart with a plan that actually works.
You’ll learn which areas to tackle first, what tools make the biggest difference, and how to avoid spreading dust while you clean.
By the end, your renovated space will be ready to live in. Not almost ready. Actually ready.
No guesswork. Just a clear blueprint that saves you time and gets results.
Phase 1: Essential Preparation Before You Begin
I was on a job site last month when the contractor asked me, “When can we start cleaning?”
The drywall crew had just packed up. Dust was still hanging in the air like fog.
“Not yet,” I told him. “Give it two days.”
He looked at me like I was crazy. But here’s what most people don’t realize.
You need to wait at least 24 to 48 hours after construction stops. That fine dust needs time to settle completely. I learned this the hard way after cleaning a space too early and having to do the whole thing over again three days later.
Some contractors will tell you to jump right in. They want the job wrapped up fast so they can move on. I get it. But cleaning too soon just means you’re wiping down surfaces while particles are still floating around and landing right back where you just cleaned.
Trust me on this one.
While you’re waiting, get your tools together. You don’t need to spend a fortune at the hardware store. Just get what actually works.
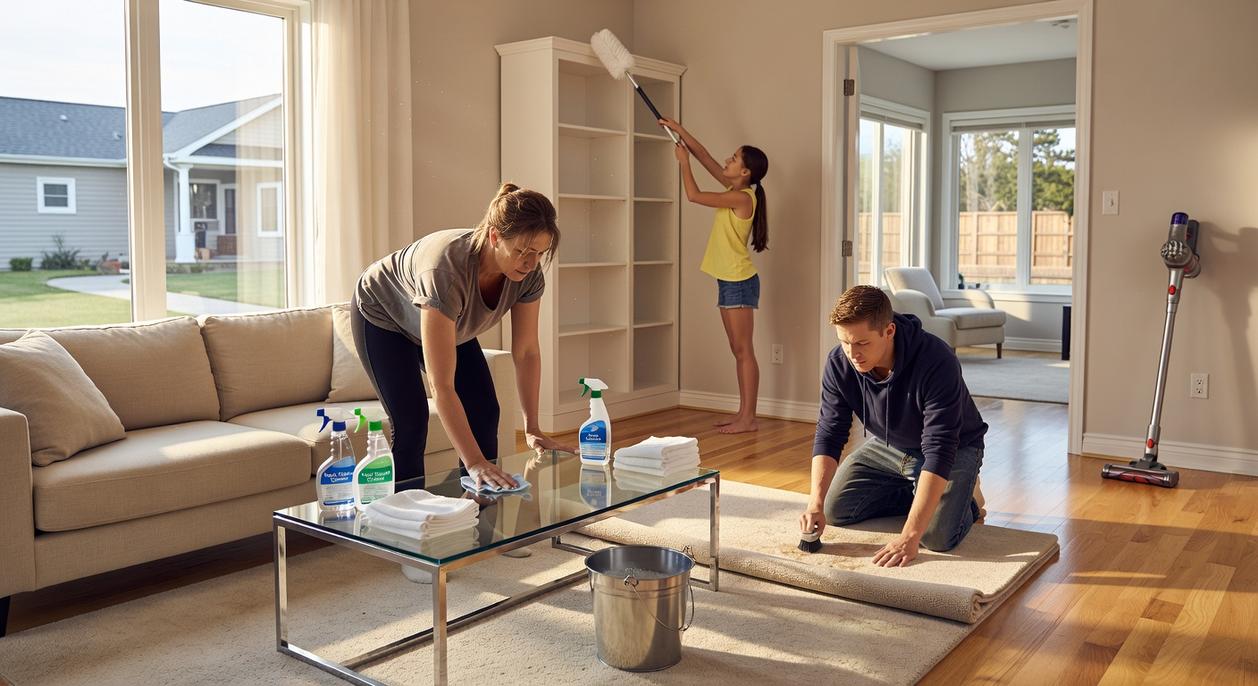
A vacuum with a HEPA filter is non-negotiable. Regular vacuums just blow the fine particles back into the air. Grab a box of quality microfiber cloths (not the cheap ones that fall apart), an extendable duster for high spots, tack cloths, and N95 masks.
One of my Miprenovate cleaning tips: buy twice as many microfiber cloths as you think you need. You’ll go through them faster than you expect.
Before you start, close every window to the outside. This seems backwards but you don’t want new dust blowing in while you’re working. Turn off your central HVAC system completely. Otherwise you’re just pushing dust through every vent in the house.
If you need airflow, set up box fans in windows facing out. Let them pull the airborne stuff outside instead of recirculating it.
Phase 2: The Top-Down, Dry-to-Wet Cleaning Methodology
Here’s what most people get wrong about deep cleaning.
They grab a wet rag and start scrubbing whatever’s in front of them. Maybe the kitchen counter. Maybe a baseboard they just noticed. No plan. No system.
Then they wonder why dust keeps reappearing everywhere.
I’m going to be blunt. If you’re not cleaning top to bottom, you’re wasting your time.
The golden rule is simple. Always clean from the highest point in the room to the lowest. Gravity does the work for you. Let dust fall to the floor and clean it last. As players dive into the immersive worlds of their favorite games, remembering to “Miprenovate” their virtual environments by cleaning from the highest point to the lowest can be as crucial as mastering the gameplay itself, ensuring a polished experience free of digital clutter.
Some people say it doesn’t matter where you start. They’ll tell you just getting it done is what counts.
But that’s like mopping before you sweep. Sure, you’re doing something, but you’re making more work for yourself.
Here’s how I actually do it.
Step 1: The Initial Dry Dust Removal
This is where most cleaning fails or succeeds.
Start with a HEPA vacuum and brush attachment. Hit your ceilings first. Then light fixtures, ceiling fan blades (trust me, you don’t want to see what’s up there), and the tops of cabinets and door frames.
Next, grab a dry microfiber cloth or duster. Wipe down your walls from top to bottom. Work in sections.
Do not use water yet.
I can’t stress this enough. Water turns dust into mud. You’ll just smear it around and create a bigger mess.
The dry pass removes about 80% of the loose dust. That’s the stuff that would’ve fallen onto surfaces you already cleaned if you’d worked bottom to top.
Step 2: The Secondary Wet Wipe
Now you can introduce moisture.
Take a damp microfiber cloth (wring it out until it’s barely wet) and go over the same surfaces again. Walls if your paint is washable. Trim, baseboards, window sills, doors, cabinets. We explore this concept further in Kitchen Improvement Ideas Miprenovate.
This catches the fine dust that clings to surfaces. The stuff the dry pass missed.
Pro tip: Keep two buckets. One with clean water, one for rinsing your dirty cloth. You’d be surprised how fast that water turns gray.
Look, I know this feels like double the work. And yeah, it takes longer than just wiping everything down once.
But I’ve cleaned enough rooms to know what actually works. The two-pass method means surfaces stay clean longer. You’re not just moving dust around or grinding it into your walls.
You’re actually removing it.
Phase 3: Conquering Floors and Final Surfaces
You’ve cleared the air and wiped down your walls.
Now comes the part that really matters. Your floors.
This is where most people mess up. They vacuum once and call it done. Then they wonder why they’re still finding dust weeks later.
Here’s what actually works.
Hardwood, LVP, and Tile Floors
I use a three-pass approach. It sounds like overkill until you see the results.
First pass: vacuum everything with a HEPA filter. Get into the corners where dust loves to hide. Don’t rush this part.
Second pass: grab a dry microfiber mop or tack cloth. You’ll be surprised how much fine dust you pick up even after vacuuming. (I was skeptical about this step too until I tried it.)
Third pass: damp-mop with the right cleaner for your floor type. Not soaking wet. Just damp enough to grab what’s left.
The benefit? You actually remove the dust instead of just pushing it around. Your floors stay cleaner longer and you’re not breathing in particles every time you walk through the room. For gamers looking to maintain a clean and healthy environment while immersed in their virtual worlds, following some practical House Advice Miprenovate can ensure that not only do your floors stay cleaner longer, but you also reduce the amount of dust and allergens you breathe in during long gaming sessions.
Carpeted Floors
Standard vacuums don’t cut it here.
Renovation dust works its way deep into carpet fibers. You need a HEPA filter vacuum with a beater bar. Go over each section multiple times from different directions.
If you had serious work done, rent a professional carpet cleaner. Or hire someone who knows what they’re doing. The miprenovate cleaning tips from myinteriorpalace approach here saves you from replacing carpet that looks permanently dingy.
Countertops and Cabinetry
Don’t skip the insides.
Empty every cabinet and drawer. Vacuum them out with your hose attachment. Then wipe everything down inside and out with a damp microfiber cloth.
Why bother? Because dust settles on your dishes and food containers. You don’t want to eat renovation dust for the next six months.
Phase 4: The Detail Work: Cleaning the Forgotten Zones
You’ve done the big surfaces.
Now comes the part most people skip. The zones that collect dust and grime but somehow stay invisible until you really look.
Let me walk you through what actually matters.
Your HVAC System is Key
This is non-negotiable. Replace your furnace or HVAC filter immediately.
I mean it. Right now, that filter is probably clogged with whatever you just stirred up during your deep clean.
Then remove all vent covers. Wash them thoroughly in a sink with warm soapy water. While they’re drying, vacuum out the duct openings as far as you can reach before replacing them.
(You’d be surprised how much dust lives in those first few inches.)
Windows, Tracks, and Blinds
Dust loves to hide here. It settles into window tracks and just sits there until you deal with it.
Vacuum the tracks and sills first. Then wipe down the glass on both sides. For blinds, clean them slat by slat with a damp microfiber cloth.
Yes, it’s tedious. But it makes a real difference in how clean the room feels.
Light Fixtures and Electronics
Remove covers from light fixtures to clean both inside and out. Dead bugs and dust build up faster than you think.
Gently wipe down outlets, switch plates, and any electronics in the area with a dry cloth. Don’t spray cleaner directly on these. You want them clean, not fried. For those looking to refresh their gaming space without the risk of damaging their electronics, following Miprenovate Renovation Tips by Myinteriorpalace can provide essential guidance on maintaining cleanliness while ensuring your setup remains safe and functional.
For more detailed cleaning strategies, check out house advice miprenovate for room-by-room guidance.
These forgotten zones? They’re what separate a surface clean from a space that actually feels fresh.
Reclaiming Your Clean and Beautiful Home
You now have a complete strategy to eliminate post-renovation dust for good.
I’ve walked you through the exact process that works. No more guessing or redoing the same surfaces three times.
The key is the top-down, dry-to-wet method. That’s what separates an efficient clean from wasted effort.
You came here frustrated with fine dust that seemed impossible to remove. Now you have a structured plan that actually works.
Here’s what you should do next: Start with your ceiling and work your way down. Use dry methods first, then follow with damp cleaning. Don’t skip the final vacuum pass.
The miprenovate cleaning tips from myinteriorpalace have helped thousands of homeowners tackle this exact problem. We focus on methods that save you time and deliver real results.
Your renovation is finally complete. Step back and enjoy what you’ve created.
The dust is gone. Your beautiful space is ready.
 Rovelle Vosswynne has opinions about gardening and landscaping tips. Informed ones, backed by real experience — but opinions nonetheless, and they doesn't try to disguise them as neutral observation. They thinks a lot of what gets written about Gardening and Landscaping Tips, DIY Project Tips, Home Renovation Ideas is either too cautious to be useful or too confident to be credible, and they's work tends to sit deliberately in the space between those two failure modes.
Reading Rovelle's pieces, you get the sense of someone who has thought about this stuff seriously and arrived at actual conclusions — not just collected a range of perspectives and declined to pick one. That can be uncomfortable when they lands on something you disagree with. It's also why the writing is worth engaging with. Rovelle isn't interested in telling people what they want to hear. They is interested in telling them what they actually thinks, with enough reasoning behind it that you can push back if you want to. That kind of intellectual honesty is rarer than it should be.
What Rovelle is best at is the moment when a familiar topic reveals something unexpected — when the conventional wisdom turns out to be slightly off, or when a small shift in framing changes everything. They finds those moments consistently, which is why they's work tends to generate real discussion rather than just passive agreement.
Rovelle Vosswynne has opinions about gardening and landscaping tips. Informed ones, backed by real experience — but opinions nonetheless, and they doesn't try to disguise them as neutral observation. They thinks a lot of what gets written about Gardening and Landscaping Tips, DIY Project Tips, Home Renovation Ideas is either too cautious to be useful or too confident to be credible, and they's work tends to sit deliberately in the space between those two failure modes.
Reading Rovelle's pieces, you get the sense of someone who has thought about this stuff seriously and arrived at actual conclusions — not just collected a range of perspectives and declined to pick one. That can be uncomfortable when they lands on something you disagree with. It's also why the writing is worth engaging with. Rovelle isn't interested in telling people what they want to hear. They is interested in telling them what they actually thinks, with enough reasoning behind it that you can push back if you want to. That kind of intellectual honesty is rarer than it should be.
What Rovelle is best at is the moment when a familiar topic reveals something unexpected — when the conventional wisdom turns out to be slightly off, or when a small shift in framing changes everything. They finds those moments consistently, which is why they's work tends to generate real discussion rather than just passive agreement.