Small Wins, Big Impact
You don’t need a full tool shed or a contractor’s license to give your space a boost. The key is to start small. Tackle projects that are simple enough to finish in a weekend but impactful enough that you’ll feel the difference right away. A scratched up nightstand becomes a statement piece with a coat of paint. Swapping old cabinet knobs can make a kitchen feel brand new.
These beginner DIYs are all about momentum. You’re not remodeling your home you’re sharpening your eye, building skill, and creating spaces that feel more like you. No specialized tools, no prior experience. Just practical steps and a little grit. Choose one idea, clear a space, and just begin. That’s where the magic starts.
Paint Furniture You Already Own
You don’t need a new sofa to change a room. Sometimes, a new coat of paint on a battered dresser or chair does the trick. It’s fast, budget friendly, and has serious visual payoff.
Start by prepping like a pro. Clean the piece thoroughly dust, grease, and old grime will mess with adhesion. Sand it down just enough to dull the finish, and apply a primer that suits your paint type (especially important with wood veneer or previously lacquered surfaces).
When it comes to color, 2024 is leaning toward grounded, calming tones. Matte black adds contrast and drama. Sage green brings a subtle, organic vibe. Warm neutrals think beige, clay, and soft caramel are everywhere and match nearly anything.
Follow a step by step guide if you’re new to the process. It’ll walk you through the painting technique, drying times, and finishing touches that make a DIY look pro. Check out this solid walkthrough to paint furniture like a pro.
Install Peel and Stick Wall Treatments
If you’re renting or just not ready to commit to a full remodel, peel and stick wall treatments are your best friend. They’re low stakes, high impact, and totally removable when it’s time to move or change your mind. You’ve got solid options removable wallpaper, faux wood planks, even tile look panels that mimic the real thing without the hassle or mess.
Installation is straightforward, but alignment is where people mess up. Always start from a corner and work your way out. Trying to center a piece in the middle of a wall will almost always end in frustration and re dos. With the right start point, the rest falls into place. Give it a shot it’s one of those small upgrades that instantly makes a space feel considered.
Create a Wall Mounted Organizer
A wall mounted organizer is one of those projects that looks more complex than it really is and it pays off fast. Start with either leftover wood scraps or a cheap pegboard from your local hardware store. This is the kind of DIY that doesn’t need fancy materials or a degree in carpentry.
Mount it near your entryway, home office, or anywhere clutter collects. Add a few basic accessories hooks for keys, a bin for mail, maybe a small shelf for your phone or a charging dock. The goal here isn’t perfection, it’s utility. Build as you go. Need another hook? Add it. Want to paint it? Go for it. There’s no wrong way to make it yours.
This project brings order to chaos and gives you a reason to use that blank stretch of wall you’ve been ignoring. Cheap, fast, and immediately useful that’s a win.
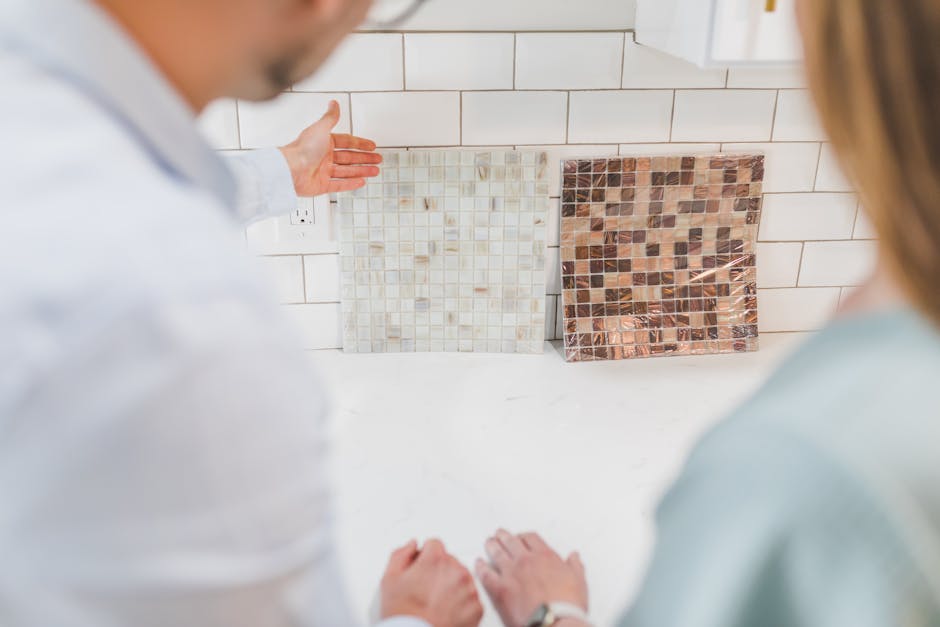
Upgrade Cabinet Hardware
If your cabinets feel a little stuck in the past, start with the hardware. Swapping out outdated knobs and pulls can instantly modernize both kitchens and bathrooms no paint or demo needed. It’s a small change with big payoff.
Before you unscrew anything, measure the drill spacing the distance between screw holes on your existing pulls. Not all hardware lines up the same, and guessing will cost you time and patchwork. Measure twice, replace once.
As for finishes, brushed brass and matte black are leading the charge in 2024. Both offer a bold contrast against neutral cabinetry and give off high end energy without high end cost. Whether your vibe is clean and minimal or warm and vintage, the right hardware sets the tone without stealing the show.
Build a Simple Floating Shelf
You don’t need a full toolbox or a contractor’s license to pull this off. All you need is a solid plank, two brackets, and a decent drill. Find a spot that could use a little functional style bathrooms, small entryways, or that awkward patch of wall above the desk.
Pick a plank that’s about 1″ thick for strength. Pre finished wood saves time, but raw wood lets you stain or paint to match the room. Line up your brackets at equal distances from each end, mark your holes, and drill into studs if possible. If not, wall anchors are non negotiable no one wants a shelf that gives up on gravity.
Use a level (seriously, don’t eyeball it) to make sure everything sits straight. Once mounted, it’s the perfect spot for plants, candles, or whatever clutter you want to make look intentional.
Quick Tips Before You Start
Before you dive into your DIY weekend, keep these quick tips in mind. They’ll save you time, money, and a few headaches down the line.
Stay Budget Friendly
Keep projects under $50. Many beginner DIYs can be completed with minimal investment. Shop your home first and check discount stores for supplies.
Measure Twice, Drill Once
Double check all measurements, especially when replacing cabinet hardware or installing shelves. Small miscalculations can lead to large frustrations.
Painter’s Tape: A DIY MVP
Invest in painter’s tape. It’s not just for painting use it to mark straight lines, measure shelf placements, or test layout ideas before committing.
Test Before You Commit
Try a dry fit on new builds (like shelves or organizers) before final installation.
Use scrap wood to test stains, paints, or drill settings if you’re unsure.
Planning ahead with these simple strategies helps ensure your weekend projects are successful and stress free.
Ready to take on your first project? Get started with this full guide on how to paint furniture like a pro.
 Michael Fletcheroads is the kind of writer who genuinely cannot publish something without checking it twice. Maybe three times. They came to sustainable home practices through years of hands-on work rather than theory, which means the things they writes about — Sustainable Home Practices, Gardening and Landscaping Tips, DIY Project Tips, among other areas — are things they has actually tested, questioned, and revised opinions on more than once.
That shows in the work. Michael's pieces tend to go a level deeper than most. Not in a way that becomes unreadable, but in a way that makes you realize you'd been missing something important. They has a habit of finding the detail that everybody else glosses over and making it the center of the story — which sounds simple, but takes a rare combination of curiosity and patience to pull off consistently. The writing never feels rushed. It feels like someone who sat with the subject long enough to actually understand it.
Outside of specific topics, what Michael cares about most is whether the reader walks away with something useful. Not impressed. Not entertained. Useful. That's a harder bar to clear than it sounds, and they clears it more often than not — which is why readers tend to remember Michael's articles long after they've forgotten the headline.
Michael Fletcheroads is the kind of writer who genuinely cannot publish something without checking it twice. Maybe three times. They came to sustainable home practices through years of hands-on work rather than theory, which means the things they writes about — Sustainable Home Practices, Gardening and Landscaping Tips, DIY Project Tips, among other areas — are things they has actually tested, questioned, and revised opinions on more than once.
That shows in the work. Michael's pieces tend to go a level deeper than most. Not in a way that becomes unreadable, but in a way that makes you realize you'd been missing something important. They has a habit of finding the detail that everybody else glosses over and making it the center of the story — which sounds simple, but takes a rare combination of curiosity and patience to pull off consistently. The writing never feels rushed. It feels like someone who sat with the subject long enough to actually understand it.
Outside of specific topics, what Michael cares about most is whether the reader walks away with something useful. Not impressed. Not entertained. Useful. That's a harder bar to clear than it sounds, and they clears it more often than not — which is why readers tend to remember Michael's articles long after they've forgotten the headline.